{ DESCRIPTION }
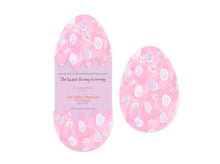
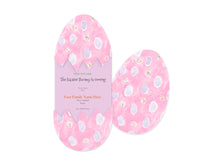
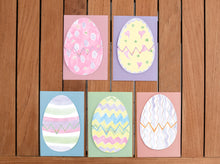
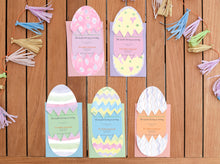
The Painted Eggs invitation includes 5 exclusive designs of hand painted eggs in watercolour. These invitations require simple assembly, which you can follow step by step on our video tutorial ensuring you achieve exactly the same results as shown here.
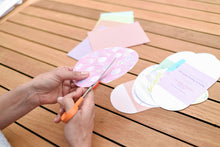
The main challenge of this idea is to cut the egg in a perfect oval! You will see that the attractive results make the effort worthwhile.
Combine this idea with our Surprise Eggs thank you cards to complete the set.
★ This product is for personal use only. For professional purposes, please contact service@fiesta4u.com
{ WHAT'S INCLUDED }
After finishing your purchase you will receive your files in the following formats:
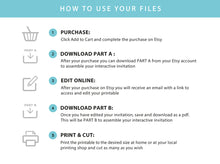
1 - PART A: A PDF file will the PART A of the invitation will be available to download in your account once you finish your purchase. This is the top part of the invitation. Cut and glue to part B following the video tutorial
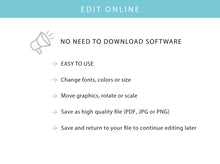
2 - PART B: You will receive an email with a LINK to access to your customizable invitation. Click on the link to EDIT your invitation online with the text you prefer for your celebration >>WITHOUT ANY ADDITIONAL SOFTWARE<<. Once you finish editing your invitation you can download the PDF to your computer. Cut and glue to part A following the video tutorial
3- Additional instructions explaining how to edit your printable
{ HOW TO EDIT YOUR PRINTABLE}
★ To edit this invitation you don't need to download any software
★ When you finish your purchase, you will receive an email with a link to access and edit your printable
★ Download your printable in PDF, JPG and PNG and print with or without backside it at home or at your local shop
{ MATERIALS }
Full instructions on how to cut out the invitation are included in the instruction pack. Additionally (materials are not provided), tto make these DIY invitations you will need:
-
A4 card
-
Scissors or cutting machine (Silhouette or Cricut)
-
Permanent adhesive roller
- Envelopes (125x175cm)
{ STEPS TO FOLLOW }
-
Edit the invitation, writing the text that best suits your Easter event
-
Print the invitation and cut it out as shown. Using the scissors, try to cut out perfect ovals. Alternatively use a cutting machine Silhouette or Cricut
-
Make the invitation as indicated. First, use the blunt edge of the knife so that the paper creases well and make the folds following the printable instructions. Then, stick top to bottom creating a surprise effect for your guests
-
Put the invitations in the envelopes
{ DIRECT DOWNLOAD }
When you finish your purchase you’ll receive a link in your account to Download your files. We’ll also send you a Download notification email, with a link to access to your files.


